Techniques / Field guide
Braising Explained: Low, Slow and Worth It
Braising turns tough, inexpensive cuts into the most tender, flavorful dishes of the cold months. It is mostly waiting, but a few principles make the difference between stringy and spoon-tender.
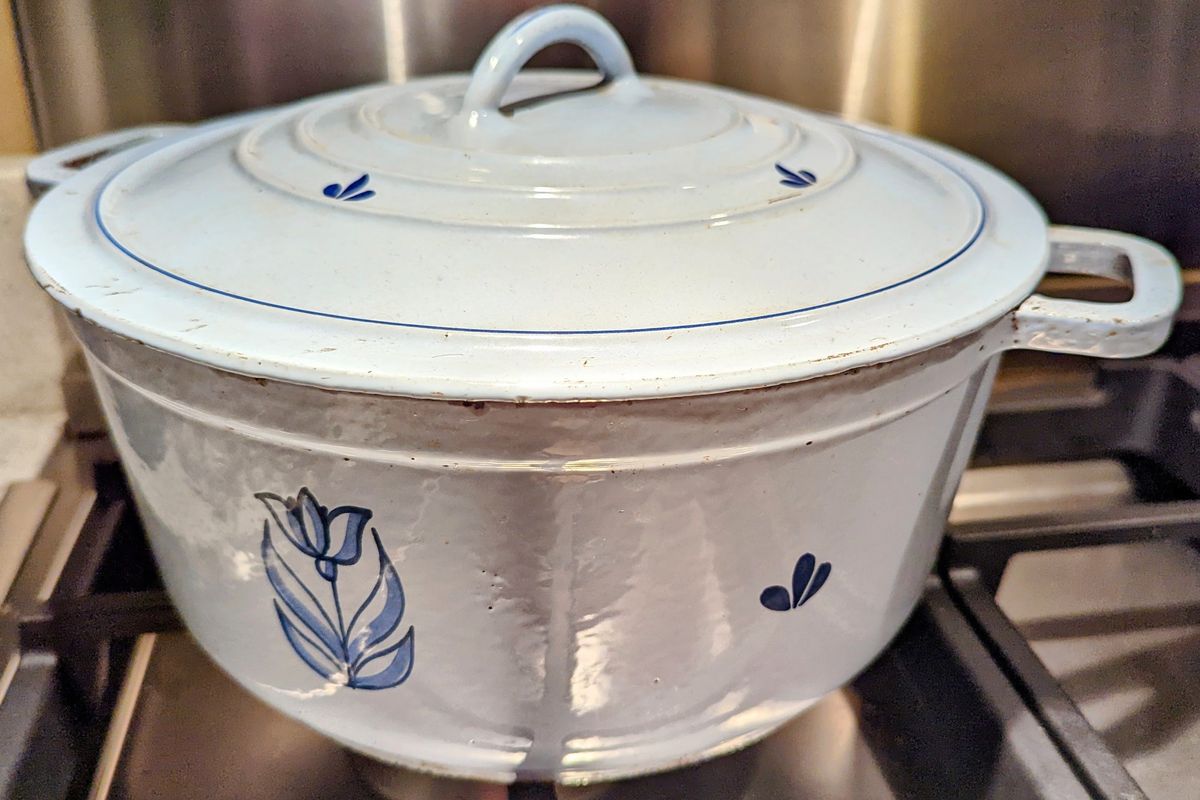
Photo: Druware Dutch Oven by Kerri9494, CC BY-SA 4.0, via Wikimedia Commons. Cropped and resized.
What is a braise?
Braising is a combination cooking method. Food is first browned in fat over high heat, then partly submerged in liquid, covered, and cooked gently for a long time. The browning builds flavor; the slow, moist heat breaks down tough connective tissue into gelatin, which makes the meat tender and gives the sauce body. Stews are close cousins; the main difference is that braised meat is usually in larger pieces and sits only partly in the liquid.
The best cuts
Choose hard-working muscles with plenty of connective tissue and fat. These cuts are tough when cooked quickly, but they reward patience. Lean, tender cuts like tenderloin or chicken breast dry out when braised.
- Beef: short ribs, chuck roast, brisket, oxtail, shank
- Pork: shoulder (also called butt), country-style ribs, shanks
- Lamb: shoulder, shanks, neck
- Chicken: bone-in thighs and legs
- Vegetables: fennel, leeks, cabbage, endive, celery root
The right pot
A heavy pot with a tight-fitting lid, such as an enameled cast-iron Dutch oven, holds heat evenly and keeps moisture in. Choose a size where the meat fits snugly in one layer; too much space means you need more liquid, which dilutes the flavor.
Step by step
- Season the meat well, ideally a day ahead.
- Brown it deeply on all sides in batches; crowding the pot causes steaming instead of browning.
- Cook aromatic vegetables in the fat, then add tomato paste or spices.
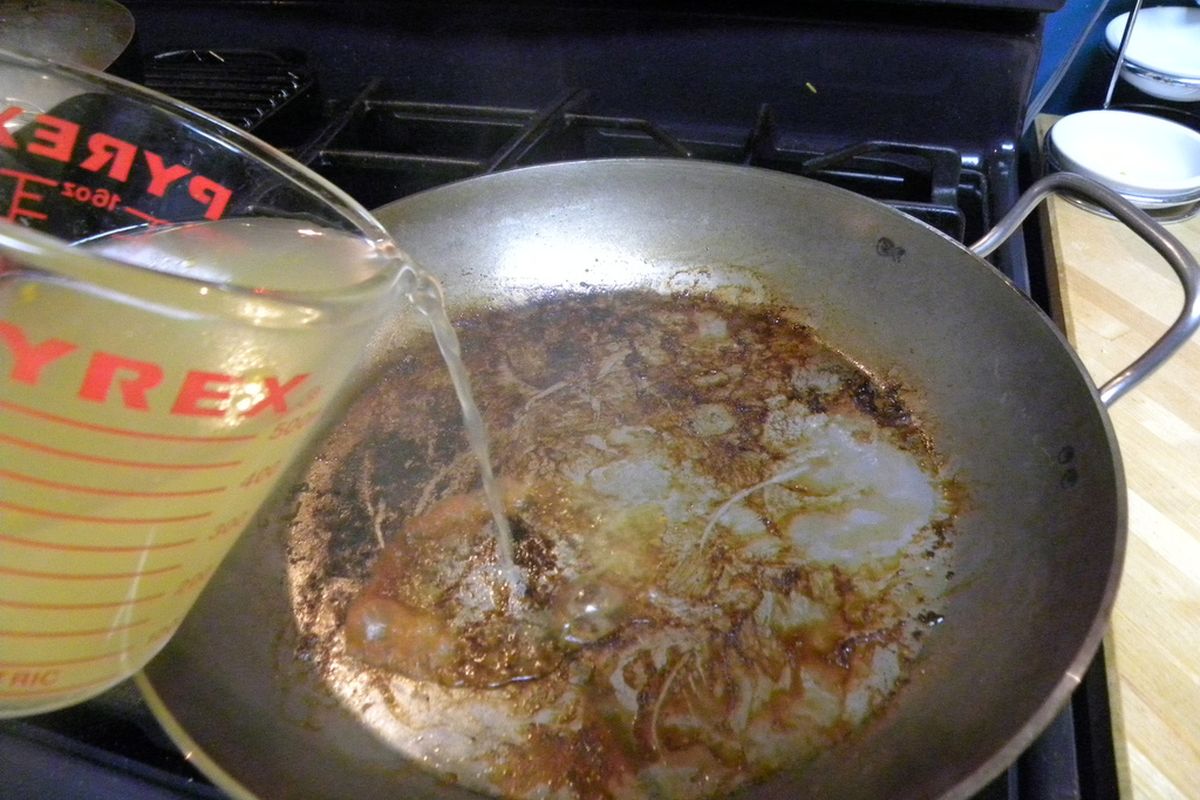
- Deglaze with wine, cider or beer, scraping up the browned bits, and reduce.
- Add stock to come one half to three quarters up the meat; add herbs.
- Cover and cook in a 300 to 325°F oven until tender.
- Strain, skim the fat and reduce the liquid into a sauce.
Why the oven?
The oven surrounds the pot with steady, even heat, so there is less risk of scorching on the bottom. You can braise on the stovetop over very low heat, but you will need to check and stir more often. Aim for a lazy simmer, with just a few bubbles. If the liquid boils hard, the muscle fibers tighten and squeeze out moisture, even as the connective tissue melts.
How to tell when it is done
Forget the clock and test the meat. A fork or skewer should slide in with almost no resistance, and the meat should start to pull apart. If it feels firm or springy, give it another 30 minutes and check again. Most braises take between 2 and 4 hours.
Better the next day
Braises improve with rest. Cool the pot, refrigerate overnight, and the fat will solidify on top for easy removal. The flavors meld and the sauce becomes even richer. Gently rewarm in the oven, and serve over mashed potatoes, polenta, egg noodles or crusty bread. See our Red Wine Braised Short Ribs to put it all into practice.
General cooking information only. Follow food-safety guidance for your area and the instructions for your equipment.